With the workflows tool, you can automate your marketing, sales, and service processes to make your team more efficient. Set enrollment criteria to automatically enroll records and take actions on your contacts, companies, deals, quotes, and tickets. You can also take actions on associated records, such as updating the company associated with a contact enrolled in the workflow.
Select workflow type
- In your HubSpot account, navigate to Automation > Workflows.
- In the upper right, click Create workflow.
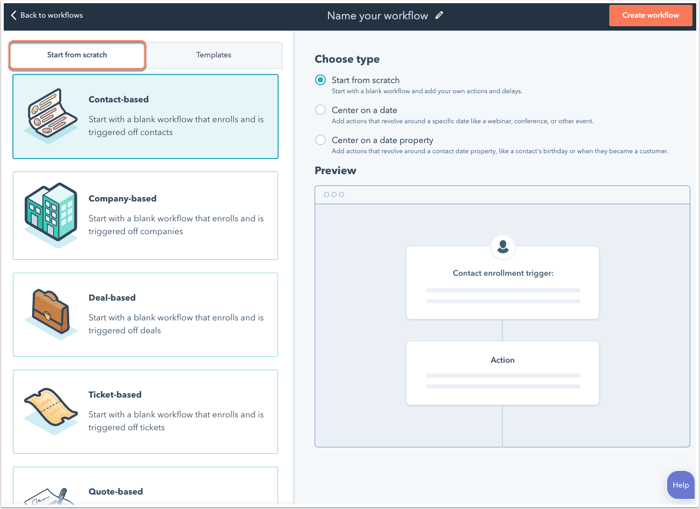
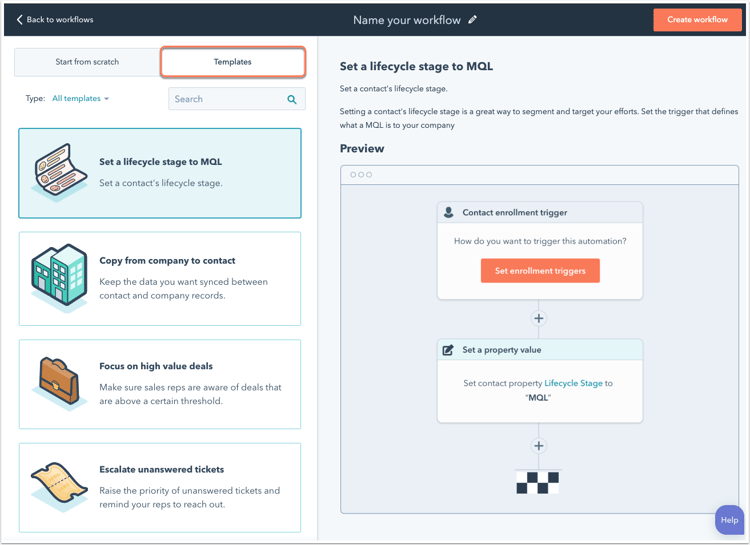
- In the left panel, choose whether you want to start your workflow from scratch, or from a template.
- Start from scratch: to begin with a blank workflow, click the Start from scratch tab. Then select Contact-based, Company-based, Deal-based, Ticket-based, or Quote-based (Sales Hub Enterprise only) as the workflow type. If you select Contact-based, you can choose to continue from scratch or center your workflow on a date or date property.
- Templates: to start with a default set of enrollment triggers and actions, click the Templates tab. In the left panel, search or click the Type dropdown menu to file by template type. Select a template to preview the enrollment triggers and actions on the right.
- Click the pencil icon edit to give your workflow a name, then click Create workflow.
Set enrollment criteria
Once your workflow has been created, set the enrollment criteria. When a record meets this criteria, they'll automatically be enrolled. If you only want to enroll records manually, leave the enrollment trigger box blank.
- In the workflow editor, click Set enrollment triggers.
- In the right panel, select a filter type for your enrollment trigger. Set up the criteria, then click Apply filter.
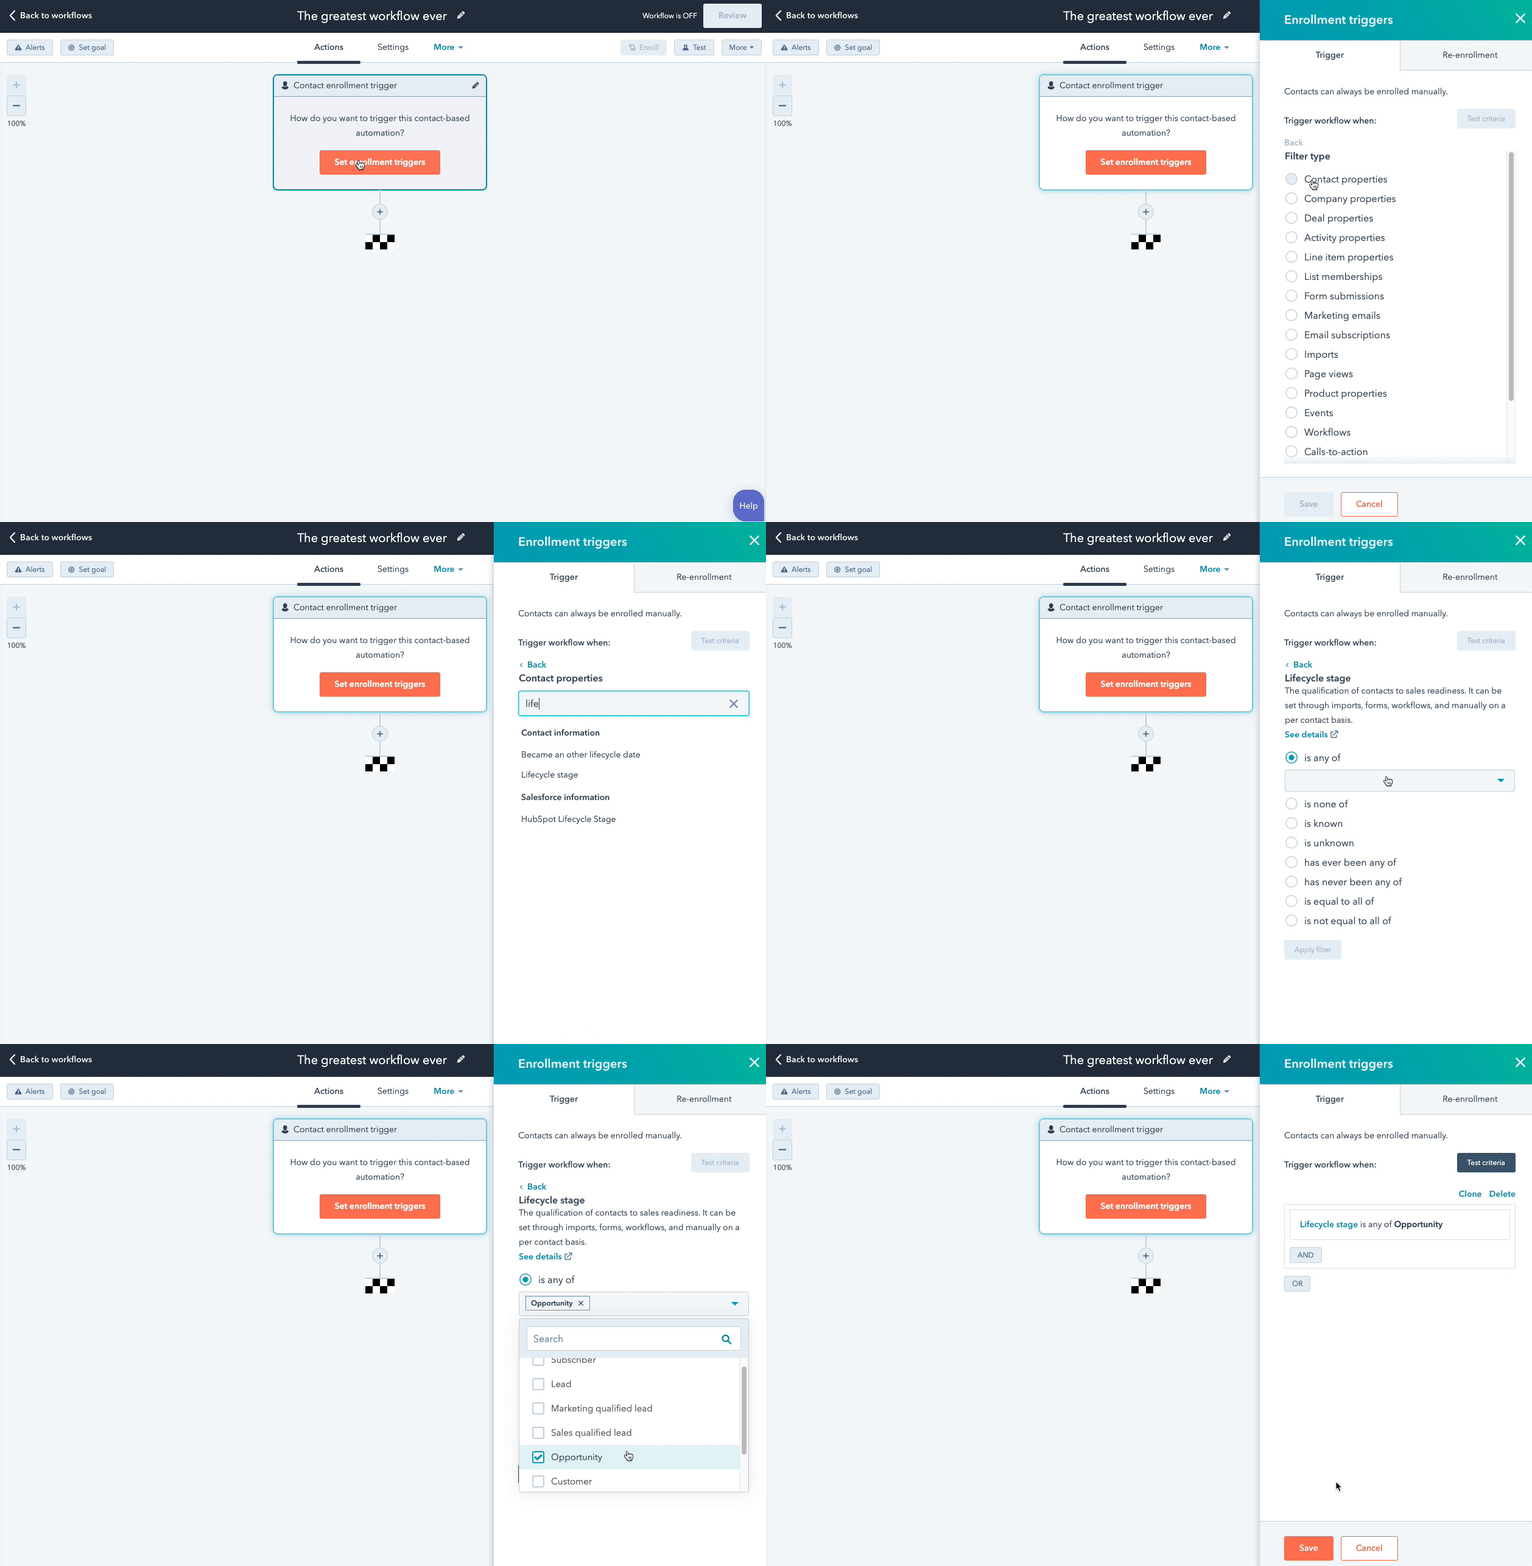
- By default, records will only enroll in a workflow the first time they meet the enrollment triggers. To enable re-enrollment:
- In the right sidebar, click the Re-enrollment tab.
- Click to toggle the Re-enrollment switch on.
- Select the triggers that you want to use for re-enrollment.
- Add more enrollment triggers if needed.
- When you're done, click Save.
Add actions
- Click the plus icon + to add a workflow action.
- In the right panel, select an action.
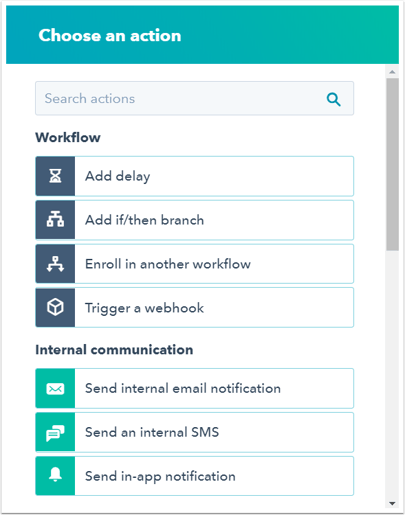
- Set up the details of the action, then click Save.
- Click the plus icon + to add more workflow actions.
Manage settings
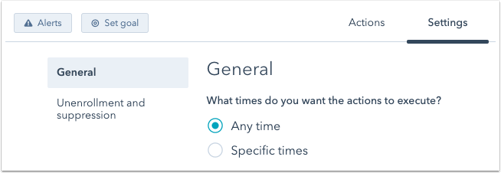
Click the Settings tab to manage the workflow's settings. On the General page, select days and times that you want actions to execute, enroll contacts from Salesforce, and associate campaigns with the workflow. On the Unenrollment and suppression page, set unenrollment and suppression criteria to automatically remove or exclude records from the workflow.
Turn on your workflow
- In the upper right corner, click Review.
- Choose to enroll records that currently meet the criteria or only enroll records that meet the criteria in the future:
- To only enroll records that meet the enrollment triggers after the workflow is turned on, select No, only enroll [objects] which meet the trigger criteria after turning the workflow on.
- To enroll existing records that meet the enrollment triggers, select Yes, enroll existing [objects] which meet the trigger criteria as of now.

- If you have a Marketing Hub Starter, Professional, or Enterprise account, in contact-based workflows you can view a static list of contacts that meet the criteria by clicking Use lists to see these contacts. The list will automatically be saved and can be accessed from your lists dashboard.

- Review workflow settings, then click Turn on.
- In the dialog box, click Yes, turn on.
After you turn your workflow on, you can view the workflow history to monitor the records that are enrolled.
