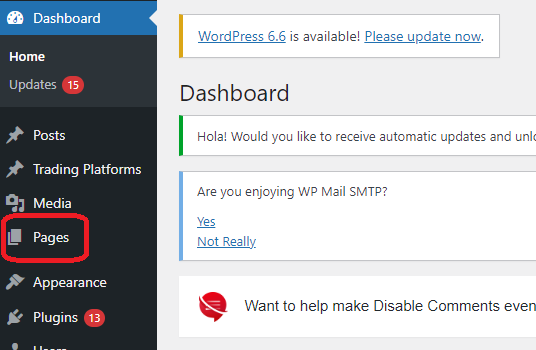
From the WordPress Dashboard, go to Pages (on the left sidebar).
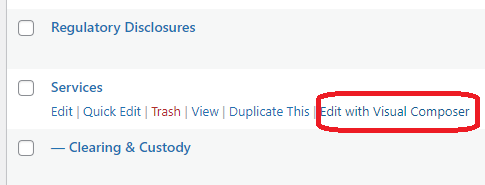
Find the page you want to edit, then when you hover over the page, you'll see the following options appear. Click Edit with Visual Composer.
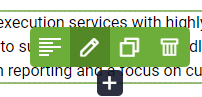
When the page opens, scroll to the section(s) you want to edit. When you hover over the section, you'll see the following options appear. Click the pencil icon.
This will open the text block editor where you can make your text changes, as seen below.

Once you are done, to make the changes live, navigate to the bottom left corner of the page and click the checkmark icon.

There's one final step -- to make sure your changes appear on the frontend of the site immediately, you'll need to clear your website cache.
From your WordPress dashboard, on the left menu bar, go to Tools, and then select CloudFront Cache. You'll be taken to the following screen, where you can clear your cache by clicking Clear Cache.

For more information on CloudFront Cache clearing, please visit our Knowledge Base article.